Making a custom grub splash image
What?
- What is a grub splash image?
- This is a pretty image to use as the background of your grub menu.
- What is a grub menu?
- Most Linux distributions use grub as the boot-up manager. This is where one enables dual-boot, or picks different boot options. Most distributions are set up to hide the grub menu, but one can access the menu if one presses "Esc" during boot-up. One can also configure grub so that it does display the menu by default.
- Why would one want to see the grub menu anyway?
- Well, I like to see what my options are.
Simple Splash Images
A grub splash image needs to be:
- in xpm format (or in gzipped xpm format; splash.xpm.gz)
- 640x480 pixels in size
- only have 14 colours at most; two colours must be reserved for the menu itself.
So the simplest method is to convert your desired image using imagemagick's "convert" program.
convert -resize 640x480 -colors 14 oldimage.xpm newimage.xpm
gzip newimage.xpm
Note that oldimage doesn't have to be xpm, it can be whatever "convert" understands.
This method is easy, but for better-looking images, see Advanced Splash Images.
Installing a grub splash image
Copy your new image to /boot/grub/splash.xpm.gz
Edit the file /boot/grub/menu.lst and add the following:
splashimage(hd0,0)/grub/splash.xpm.gz
This assumes that your "boot" device is the first partition on the first drive; use a different "hd" definition if this is not the case.
You may also like to alter the foreground and background colours:
foreground ffe4b5
background f4a460
The "foreground" and "background" commands seem to only take effect when a splash image is used; otherwise grub uses the "color" command.
If you want to change your splash image around, you might want to make a directory to store your images in, and use a soft link to link your chosen image.
mkdir /boot/grub/splashimages
cp newimage.xpm.gz /boot/grub/splashimages
cd /boot/grub
ln -s splashimages/newimage.xpm.gz splash.xpm.gz
Advanced Splash Images
There are times when a simple "convert" isn't good enough; when you have too many colours in your original image, or, even more tricky, when you have a representational image to start from. In these cases, that is when using the gimp to create the splash image is warranted.
- Open your desired source image in the gimp.
- If your image is representational (that is, a person, an animal, a plant, something recognisable) then resize (Image -> Scale Image) and crop (Image -> Canvas Size then Layer -> Layer to Image Size) to make the image the same size as your screen. This is so one can start off with a non-distorted image, because the grub splash image is going to be distorted to fit the width and height of your screen when it is displayed. With non-representational images (patterns, fractals etc) it doesn't matter so much.
- Tweak the image if you want. Add borders, or text, or whatever you want. If you make more than trivial changes to the image, save it as an .xcf file, for future reference.
- Use Image -> Scale Image to resize the image to be exactly 640x480; this may mean you need to disable the aspect-ratio in the "scale image" window, by clicking on the little chain button.
- Filters -> Blur -> Selective Gaussian Blur
This makes the image smoother without losing the details. - Monochromatic images usually work better. To make an image monochromatic:
- Add a new layer
- Bucket fill that layer with your chosen colour
- Change the layer mode to "Hue" or "Color". "Hue" doesn't work if the image is greyscale. Using "Overlay" or "Grain Merge" will reduce the number of colours without making the image monochromatic.
- Image -> Flatten Image
- An alternative method of reducing the number of colours in an image is to use a gradient map (Colors -> Maps -> Gradient Map).
- You may want to increase the contrast of the image:
- Colors -> Levels and select "Auto" and then hit confirm. This doesn't always work, though, depending on the colours of the image.
- Colors -> Posterize
Make this 14 colours.
The result is solid blocks of colour, as if the image had been made with a vector drawing program; I prefer this effect rather than the dots one gets when using dithering. - Image -> Mode -> Indexed
Choose "Generate optimum palette" with 14 colours. And select "none" for dithering.
Depending on the particular image, the appearance of the image may change at this step as well as the previous step.
Alternative method:
- Do steps 1-4 of the previous method.
- Desaturate the image (Colors -> Desaturate)
- Filters -> Blur -> Selective Gaussian Blur
- If you want, increase the contrast (Colors -> Levels and "Auto" or Colors -> Auto -> Stretch Contrast)
- Colors -> Posterize
Make this 14 colours.
You will now have a black-and-white version of your image, which you can either use as-is, or tint with colour. - Save this as an .xcf file for future reference (so you can make more colour-tinted versions of it later)
- Use the methods above to give the image some colour. Gradient maps work very well with this method, if one uses a gradient which starts off with a dark colour and finishes with a pale colour.
- Image -> Mode -> Indexed
Choose "Generate optimum palette" with 14 colours. And select "none" for dithering.
Unlike the first method, this one is less likely to change the image at this step.
Tips:
- monochrome images in greyscale, red, blue or green work better than other colours.
- abstract images (such as patterns or fractals) you don't have to worry so much about distortions caused by wide screens, unless they happen to annoy you because you know what the original looked like.
- images that are too detailed lose too much detail.
- images that lack a strong design element end up looking boring.
Examples
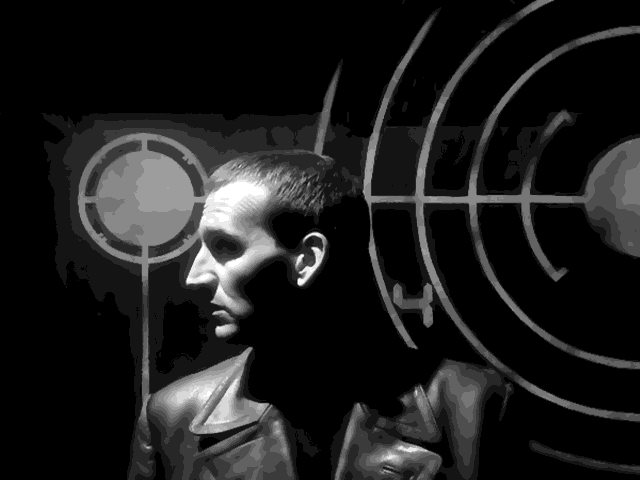
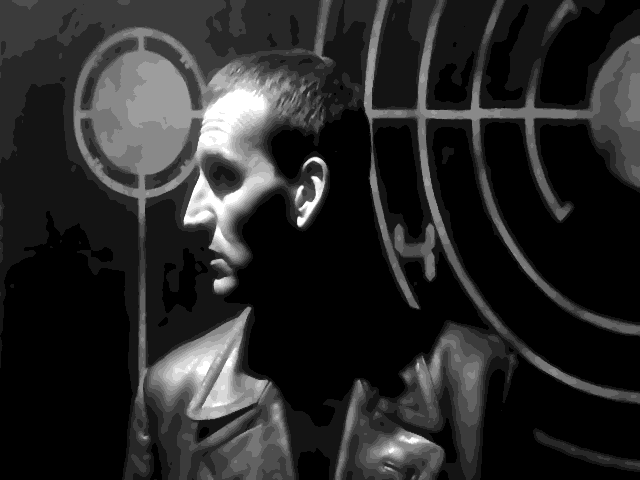
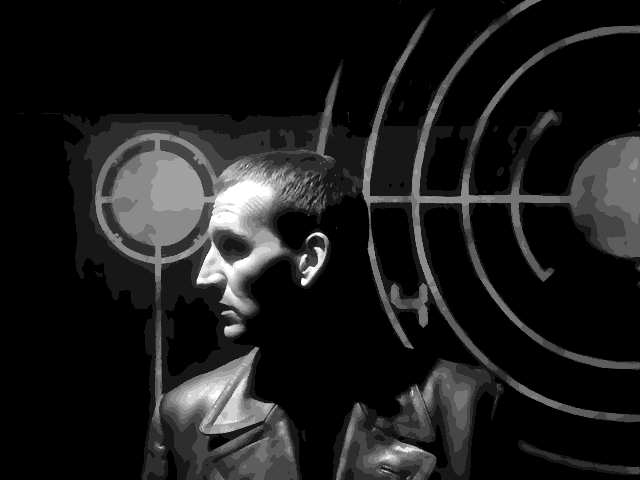
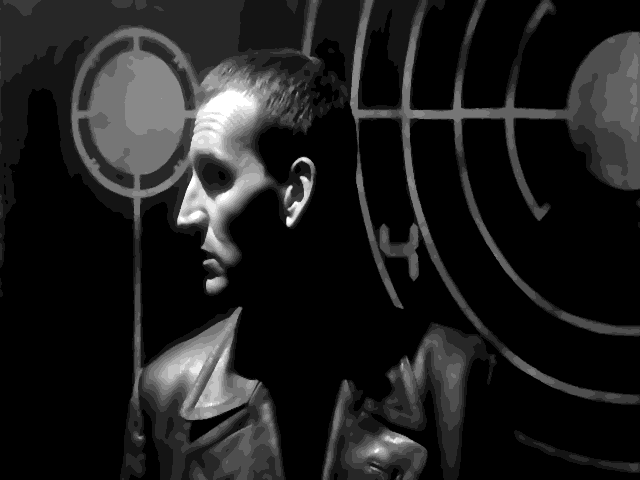
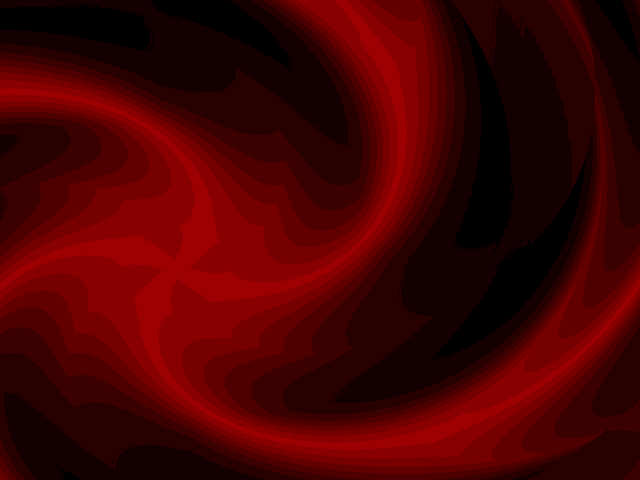
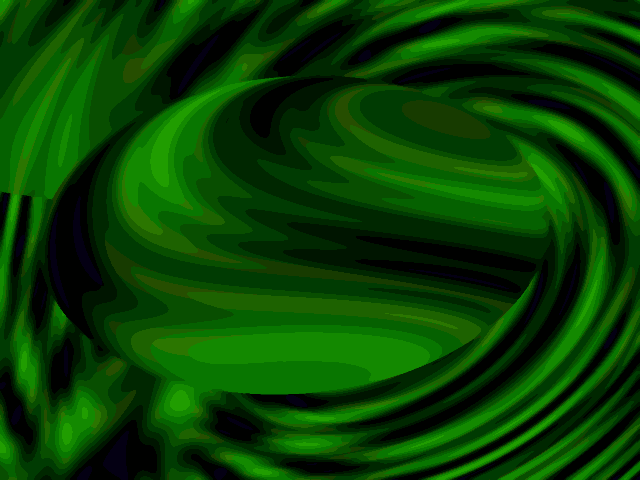


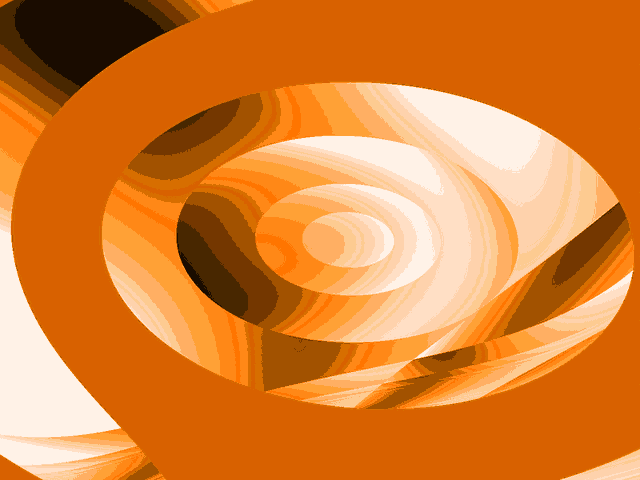
Download and use these if you like, just credit me. Most of the abstract images here were made with evolvotron, a nifty fractal generator oriented towards making pretty images.
Here are the actual .xpm.gz files:
- grub1280x1024 doc04.xpm.gz
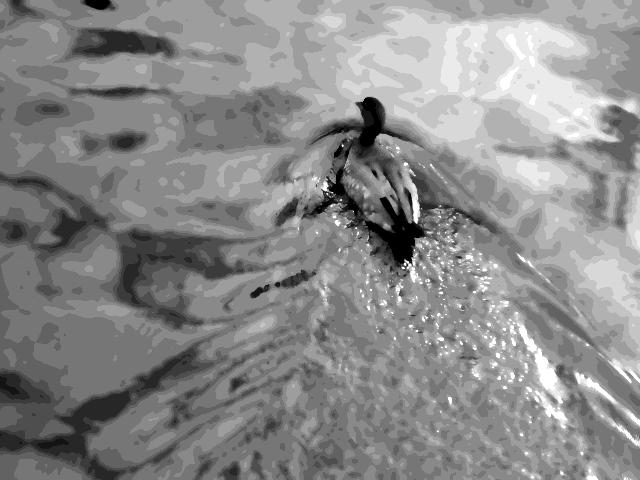
- grub1280x1024 duck01.xpm.gz
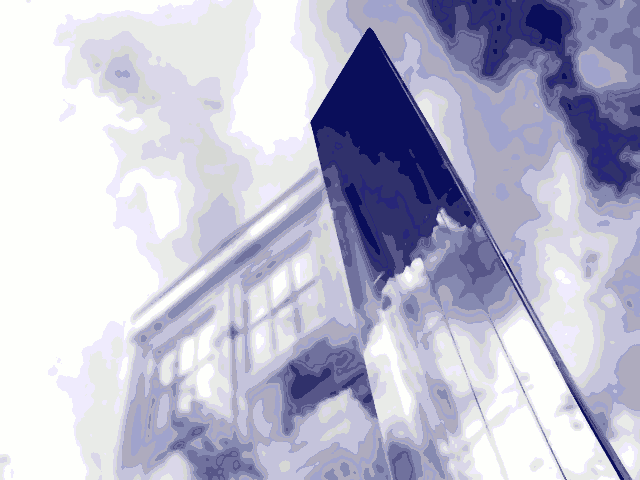
- grub1280x800 doc03.xpm.gz
- grub640x480 doc01.xpm.gz
- grub800x480 doc02.xpm.gz
- grub800x480 tardis sky.xpm.gz
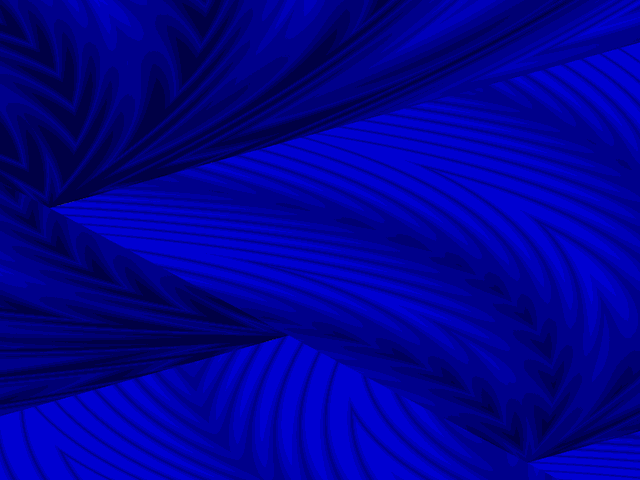
- grub ecliptic blue.xpm.gz
- grub egoity gold.xpm.gz
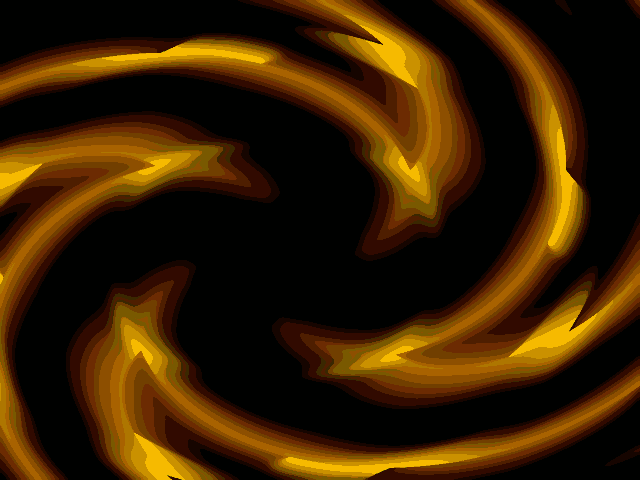
- grub eidograph fire1.xpm.gz
- grub eldin green.xpm.gz
- grub ellwand darksea.xpm.gz
- grub empathy bw.xpm.gz
- grub empathy orange.xpm.gz